If you follow me on Instagram or Facebook you probably have noticed that I’ve been rather obsessed with pastels lately. I have never allowed myself to truly explore the medium, not sure why really?...but I’m over the moon that I finally have and working with them is a joy.
This project won’t focus so much on composition but rather on technique and drawing. It will however, still focus on creating subtly with a relatively neutral palette.
If you choose to work from a photo reference (and I encourage your to do this) - consider selecting an image that is mostly neutral since that is the focus of the class. In the absence of strong color you will more clearly observe form and subtle shifts in light and dark. Pinterest is a great place to find photo references.
One word before we move on - well a few words actually…

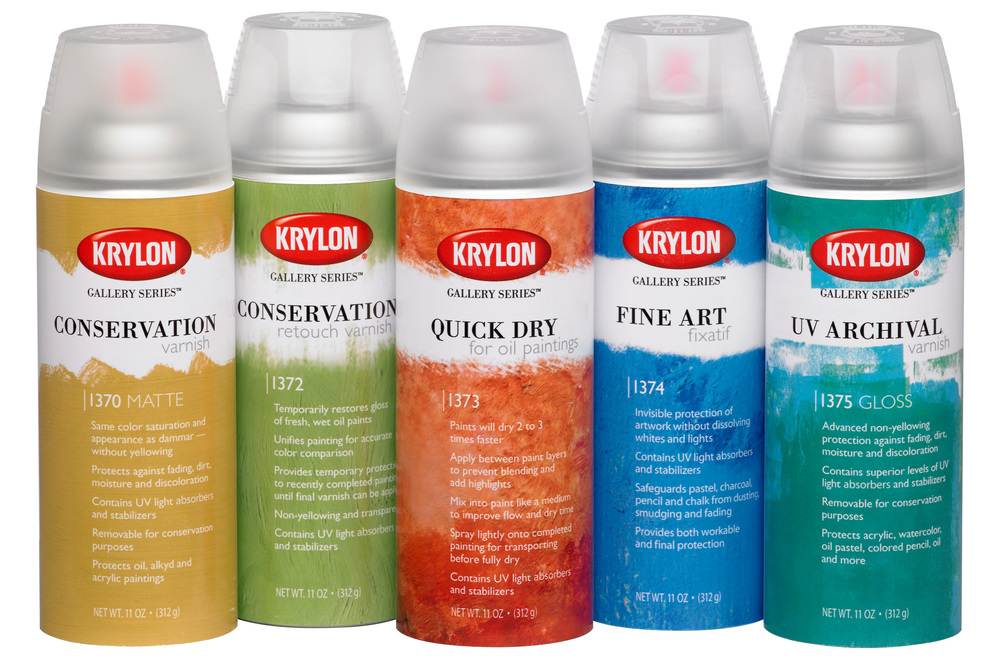
Let’s talk fixatives. My dear students, I have been researching my little heart out looking for the answers I wanted only to come up empty...well not empty...just faced with the truth!
Basically, from what I understand and from what the Pastel Society of America says is that fixing your pastels WILL change, alter and most likely darken your work. Boo!

I’ve tried a few fixatives myself and this is indeed true. It seems as though, like unicorns, pastels are magical but shouldn’t be messed with. ;)
No. It just means that if you create something you absolutely adore, be prepared to store it correctly or frame it under glass. That’s just the truth of it my friends. Please read more on the Pastel Society of America’s website to learn about framing, storage and care of the your pastel works.

Now, I’m not one to give up on something I love so I’ve dug into this more to discover that there are some ways artists are using fixatives to their advantage. Similar to the reported techniques of Degas, some artists use fixative in between layers to increase adherence and reduce smudging. They then let that layer dry and work on top of it to create the next layer. I have also read a technique where one uses steam to fix the pastels to the paper. I have not tried these things yet but plan to experiment.
I know this is a bit of a bummer but all mediums have their limitations and I encourage you to use these dreamy sticks of color regardless! You won’t regret it. Any activity that makes rainbow dust should be really be experienced right?
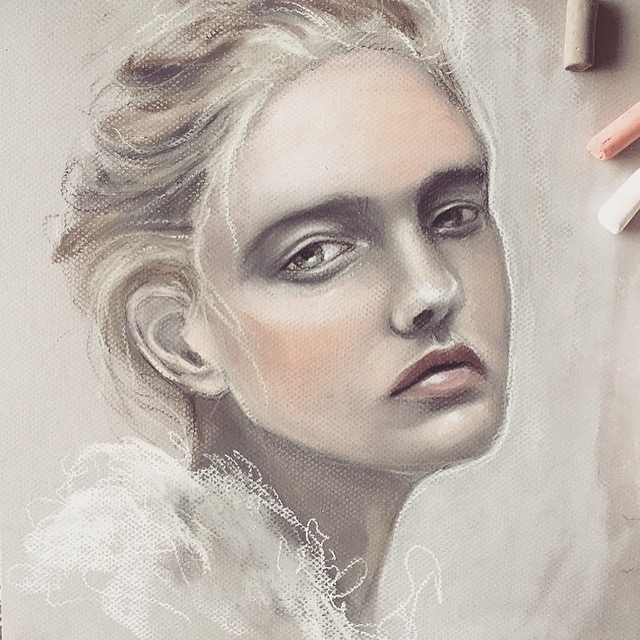
So, now that you’ve got the skinny on that...watch as I create a pastel portrait on toned pastel paper, using charcoal pencil, pastel pencils and both hard and soft chalk pastels. I was literally in complete bliss for a good 4-5 hours making this. So excited to share it with you.

I hope you enjoyed watching that! Please do give this a try! I can’t wait to see what you create!
Remember to focus on seeing the colors and tones beneath the skin...without creating richness underneath the whiter tones will appear flat and chalky. I also encourage you to work as large as you can. Creating tiny details with pastels is frustrating, especially if this is new to you!